Keeping Your Glamping Retreat Looking Grand: Caring for Exterior Woodwork
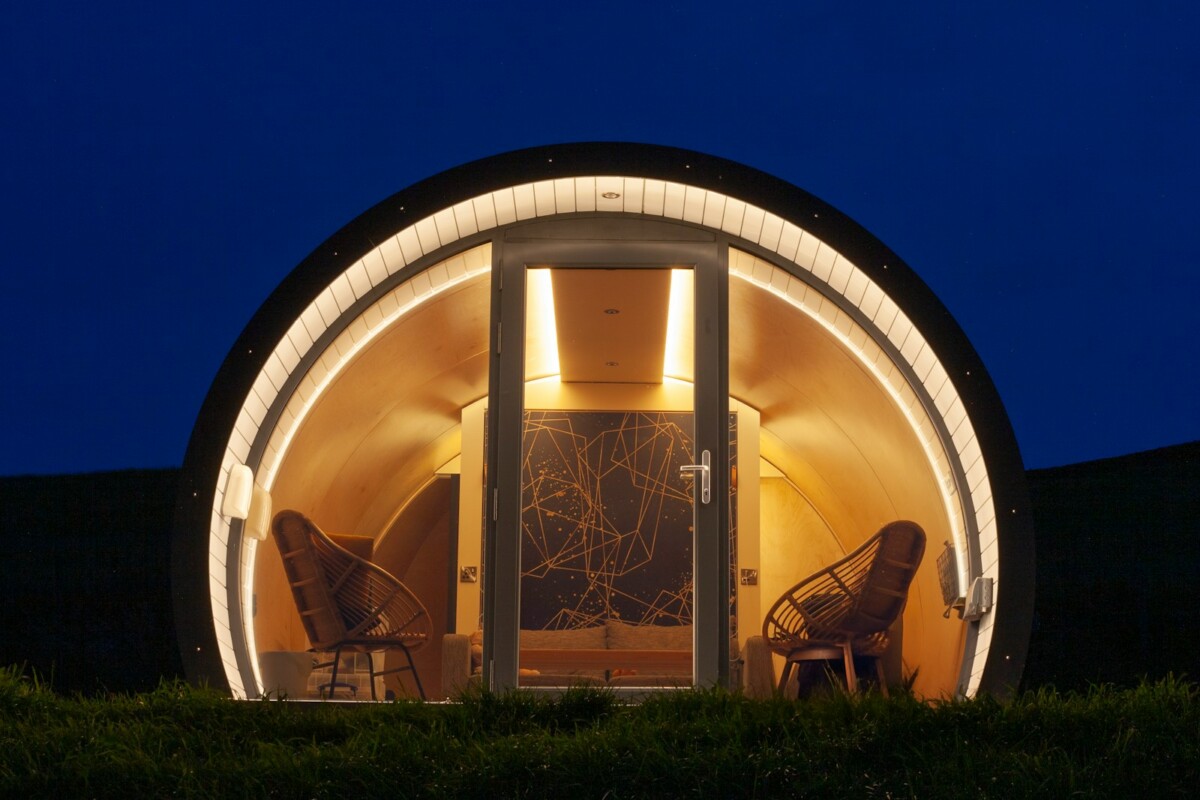
Glamping guests expect more than just a cosy bed and pretty view – the exterior of your cabins, pods or shepherd’s huts sets the tone for their stay. Faded cladding, peeling paint or weatherworn decking can easily undermine even the most charming interior. Fortunately, a little care goes a long way. Off-season times gives you chance to take note of any mixed reviews and improve exterior woodwork, like decking, fences and cladding.
Why Exterior Wood Paints & Topcoats Matter
Wood is beautiful, natural, and warm, but it’s also vulnerable. Rain, UV rays, frost, insects and fluctuating temperatures can all cause damage: warping, cracking, mould or rot. Exterior wood paints and topcoats are your first line of defence.
- Protection against moisture: A good exterior paint or topcoat seals the wood, preventing water ingress. This is especially essential in UK weather, where damp and frost are frequent.
- UV resistance: Sunlight can bleach colours and degrade wood fibres. Topcoats with UV inhibitors help maintain the tone and integrity of both paint and the wood underneath.
- Aesthetic appeal: Fresh paint or a high-quality stain gives your glamping units a crisp, cared-for look. Guests notice the details: even small repairs or a fresh coat on a fence can elevate the whole experience.
- Longevity and cost saving: Regular maintenance using appropriate products means less need for major overhauls later. It’s far cheaper to recoat than to replace rotten cladding or decking boards.
When choosing an exterior wood paint or topcoat, consider: the kind of wood (softwood, hardwood, treated or untreated), whether you want opaque paint, semi-transparent stain, or natural oils, and the local weather exposure (coastal sites, woodland shade, etc.).
How to Inspect, Prepare & Apply
Good results always begin with good preparation. Looking after your cabins, pods or lodges might feel like a big job but breaking it into simple steps makes the process straightforward.
Step 1: Inspect Carefully
Start with a slow walk around your site. Look for peeling paint, fading colour, signs of mould, or cracks in the timber. Pay attention to decking boards, fences and cladding – these areas are often the first to show wear. Off-season inspections are ideal because you’ve got time to make notes and plan repairs without worrying about guests arriving.
Step 2: Clean & Repair
Before painting, clean away dirt, mildew and any loose flakes of old paint. A gentle scrub or low-pressure wash usually does the trick. Avoid blasting wood with a high-powered jet washer, as it can damage the grain. Once dry, repair or replace damaged sections of wood and use a good exterior filler for smaller cracks.
Step 3: Sand Smooth
Sanding helps the new paint or topcoat stick better and gives a more professional finish. Use medium-grit paper and always sand with the grain of the wood. It doesn’t need to be perfect – just enough to smooth rough patches and remove old, flaky edges.
Step 4: Choose the Right Product
Exterior wood paints and topcoats come in many types. Opaque paints provide solid coverage and a bold look, while semi-transparent stains highlight the natural wood texture. Clear oils or varnishes protect while keeping the wood’s natural charm. Look for products with UV protection, strong weather resistance, and, for decking, non-slip properties. Testing a small hidden area first is always a good idea.
Step 5: Apply with Care
Choose a dry day when temperatures are mild – usually above 8–10°C – and apply your paint or topcoat with a brush or roller designed for exterior work. Most products work best with two coats: the first seals and protects, while the second adds strength and finish. Allow each coat to dry fully before adding the next.
By following these simple steps, you’ll not only extend the life of your woodwork but also keep your glamping site looking fresh, inviting and well cared for.
Seasonal Strategy: When & How Often to Maintain
A glamping site doesn’t just open in spring and close in autumn – wear and tear happens all year. Having a seasonal maintenance plan ensures long-term success.
- Spring Check: As the weather warms, inspect wood for frost damage and winter moisture. Clean surfaces and apply fresh topcoat where needed.
- Summer Upkeep: Shade, sun and high humidity can cause fading and mildew. Keep wood clean; touch up areas exposed to intense sun (southern-facing sides, etc.).
- Autumn Prep: Before heavy rain and cold, make sure gutters are clear, surfaces are well sealed, and any exposed or vulnerable wood is painted or treated. Off-season gives you time to note reviews or gaps, and to plan repainting or repair works.
- Winter Protection: Even if you close for the season, cover or protect exposed wood (decking furniture, etc.). Ensure drainage is good so water doesn’t sit and freeze or cause damage.
If you’re also considering expanding your site with new units, a fresh look can work wonders for attracting guests. Keeping your exteriors well maintained is just as important as adding something new.
A Little Effort, Big Payoffs
Investing time and care into exterior wood paints and topcoats isn’t just about looks – it’s about reputation, guest satisfaction, and avoiding costly repairs. A glamping retreat that’s well maintained, with crisp paintwork, solid decking and fresh cladding, sends a message: you care about the details.
So, take advantage of quieter periods, budget for the materials and labour, select quality paints, and keep ahead of the elements. Your glamping site will weather the seasons in style, inviting guests to relax in beauty both inside and out.